Get your server up to date:
| 1 | apt update && apt upgrade -y |
Also install curl and socat:
| 1 | apt install curl socat -y |
Install Acme Script
Download and install the Acme script for getting a free SSL certificate:
| 1 | curl https://get.acme.sh | sh |
Get Free SSL Certificate
Set the default provider to Let’s Encrypt:
| 1 | ~/.acme.sh/acme.sh –set-default-ca –server letsencrypt |
Register your account for a free SSL certificate. In the next command, replace xxxx@xxxx.com by your actual email address:
| 1 | ~/.acme.sh/acme.sh –register-account -m xxxx@xxxx.com |
Obtain an SSL certificate. In the next command, replace host.mydomain.com by your actual host name:
| 1 | ~/.acme.sh/acme.sh –issue -d host.mydomain.com –standalone |
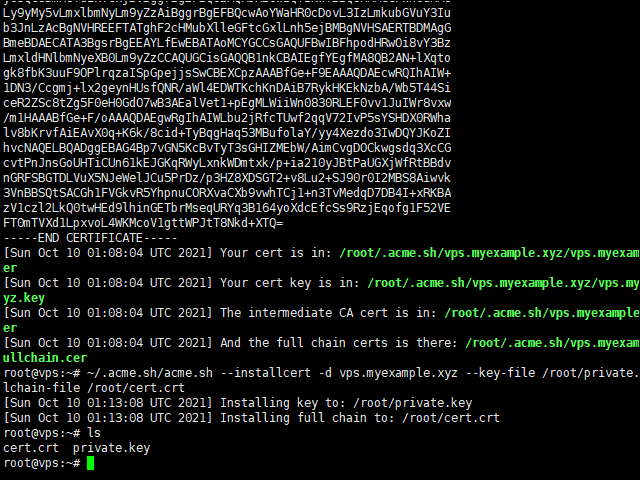
After a minute or so, the script terminates. On success, you will receive feedback as to the location of the certificate and key:
| 1 2 3 4 | Your cert is in: /root/.acme.sh/host.mydomain.com/host.mydomain.com.cer Your cert key is in: /root/.acme.sh/host.mydomain.com/host.mydomain.com.key The intermediate CA cert is in: /root/.acme.sh/host.mydomain.com/ca.cer And the full chain certs is there: /root/.acme.sh/host.mydomain.com/fullchain.cer |
You cannot use the certificate and key in their current locations, as these may be temporary. Therefore install the certificate and key to a permanent location. In the next command, replace host.mydomain.com by your actual host name:
| 1 | ~/.acme.sh/acme.sh –installcert -d host.mydomain.com –key-file /root/private.key –fullchain-file /root/cert.crt |
Run the X-UI Install Script
Download and run the one-click install script provided by the developer:
| 1 | bash <(curl -Ls https://raw.githubusercontent.com/vaxilu/x-ui/master/install.sh) |
Common Panel Commands
From the command line, you can control the server with various commands:
| Command | Effect |
|---|---|
x-ui | Display the management menu |
x-ui start | Start the X-UI panel |
x-ui stop | Stop the X-UI panel |
x-ui restart | Restart the X-UI panel |
x-ui status | View X-UI status |
x-ui enable | Set X-UI to start automatically after boot |
x-ui disable | Cancel X-UI boot from start |
x-ui log | View X-UI log |
x-ui update | Update the X-UI panel |
x-ui install | Install X-UI panel |
x-ui uninstall | Uninstall X-UI panel |
First Time Login
You can get to the X-UI panel on your PC by opening a browser and typing your server IP address and port 54321. For example:
| 1 | http://123.45.67.89:54321 |
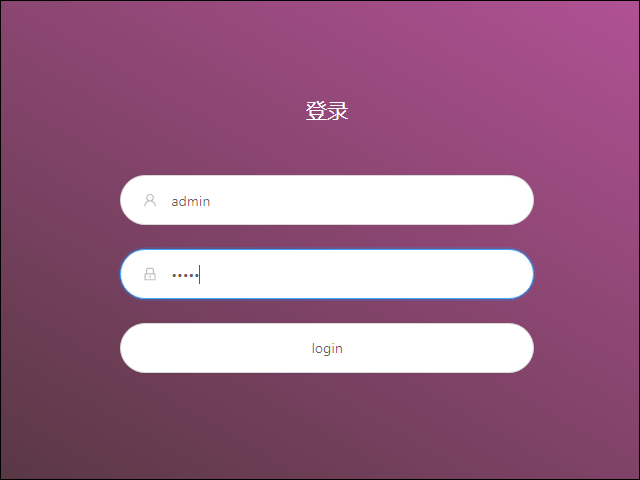
By default, the login user name is admin, and the password is also admin.
Side Menu
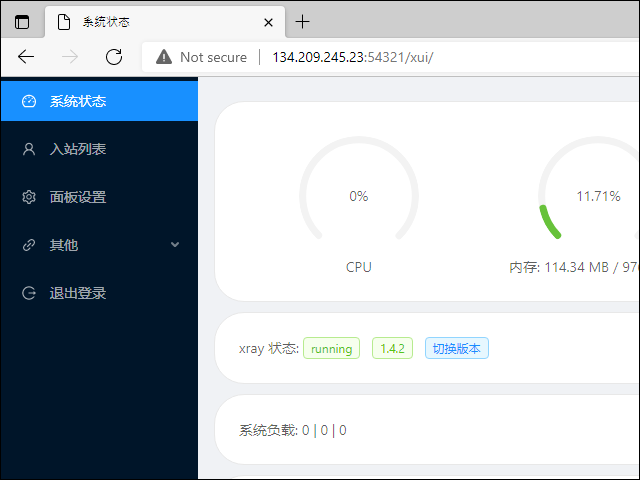
After you have logged in, the side menu offers these options:
| Chinese | English |
|---|---|
| 系统状态 | System status |
| 入站列表 | Inbound list |
| 面板设置 | Panel settings |
| 其他 | Other |
| 退出登录 | Sign out |
Enable HTTPS on Panel
You will notice that, at first, you used plain text HTTP to reach the panel. This is not secure.
To enable HTTPS, choose 面板设置 (Panel settings).
You will need to specify your certificate and key.
| 1 2 3 4 | 面板证书公钥文件路径 填写一个 ‘/’ 开头的绝对路径,重启面板生效 Panel certificate public key file path Fill in an absolute path starting with’/’, restart the panel to take effect |
Fill in /root/cert.crt.
| 1 2 3 4 | 面板证书密钥文件路径 填写一个 ‘/’ 开头的绝对路径,重启面板生效 Panel certificate key file path Fill in an absolute path starting with’/’, restart the panel to take effect |
Fill in /root/private.key.
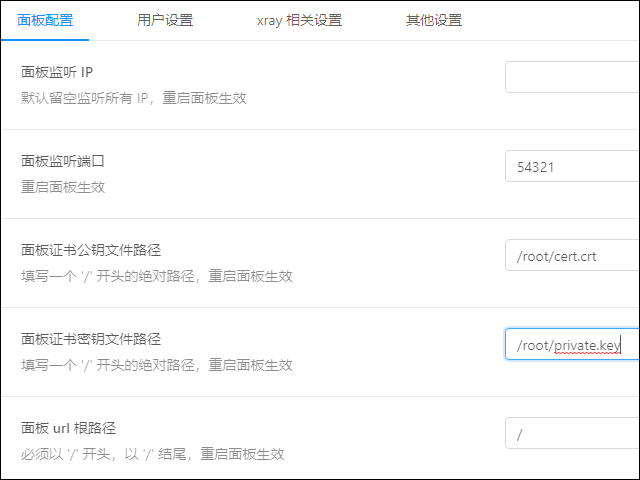
Save these options.
Now in your SSH session issue the command:
| 1 | x-ui restart |
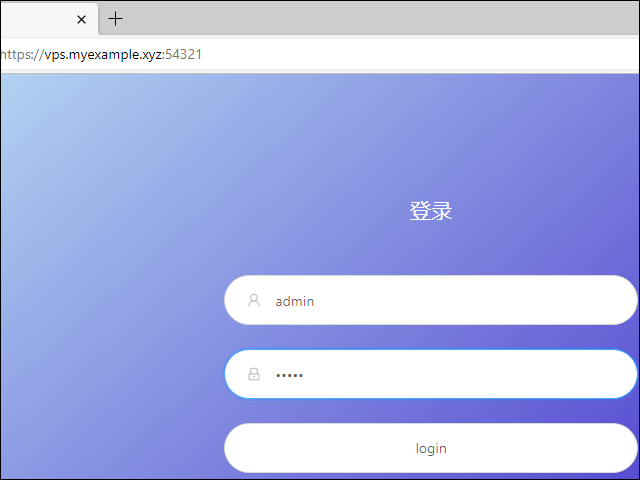
Now you can reach the panel using HTTPS. For example:
| 1 | https://host.mydomain.com:54321 |
Change Admin Password
The default admin user name admin and password admin are the same for all installations. This is not secure. Input the old values of admin and admin, and choose new, unique values:
| Chinese | English |
|---|---|
| 原用户名 | Original user name |
| 原密码 | Old password |
| 新用户名 | New user name |
| 新密码 | New password |
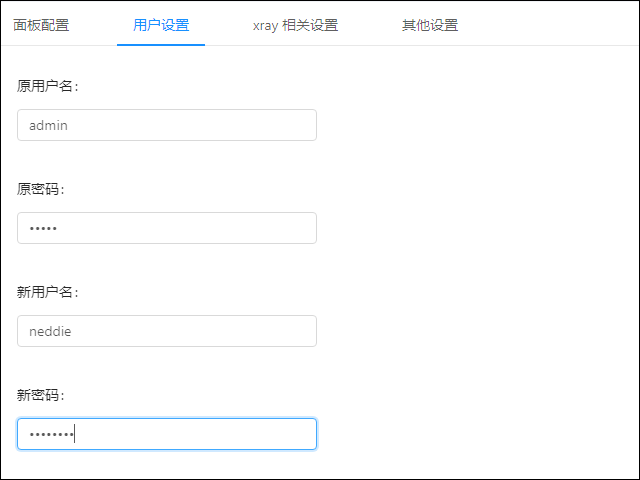
Save the new values.
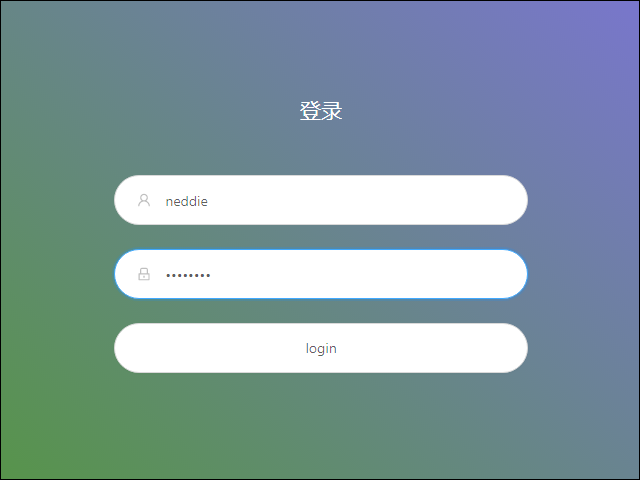
Sign out, then sign in again with the new user name and password.
Add VLESS+XTLS Xray User
We are going to add an inbound user account using VLESS and Xray. VLESS is an an updated version of the older Vmess protocol. After several developers found flaws in Vmess protocol and showed that the Vmess protocol can be detected by deep packet inspection or DPI, VLESS was developed. (Note that it is plain Vmess that can be detected; Vmess+WS+TLS is still secure and supports the use of a CDN.) Xray core was developed as an alternative to the older V2Ray core. According to the Xray developers, Xray is more stable, better for UDP gaming, and 30% faster than V2Ray. XTLS speeds up TLS by reducing double-encryption.
On the side menu, select 入站列表 (Inbound list).
Click the plus sign to add a new inbound user.
The 添加入站 (Add inbound) box appears.
Enter fields as follows.
| Field | Contents |
|---|---|
| Remark | Put a unique and meaningful description |
| Enable | On |
| Protocol | vless |
| 监听 IP Listening IP | Leave blank |
| 端口 Port | 443 |
| 总流量(GB) Total bandwidth (GB) | 0 means unlimited |
| 到期时间 Expiry date | Blank |
| Id | Leave the generated UUID as is |
| Flow | xtls-rprx-direct |
| Fallbacks | None |
| 传输 Transmission | tcp |
| HTTP 伪装 masquerading | Off |
| TLS | Off |
| XTLS | On |
| 域名 Domain name | Put your host name, e.g. host.mydomain.com |
| 公钥文件路径 Public key file path | /root/cert.crt |
| 密钥文件路径 Key file path | /root/private.key |
| Sniffing | On |
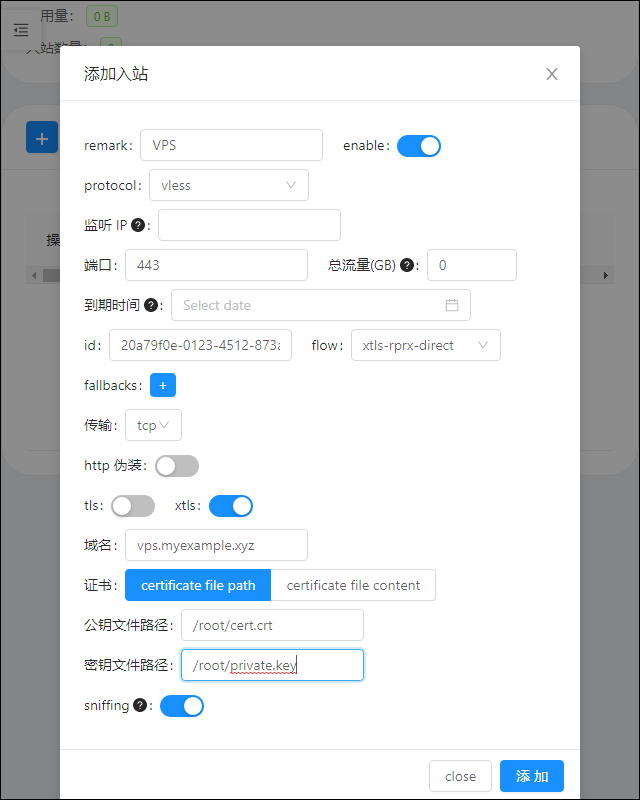
Save the new user.
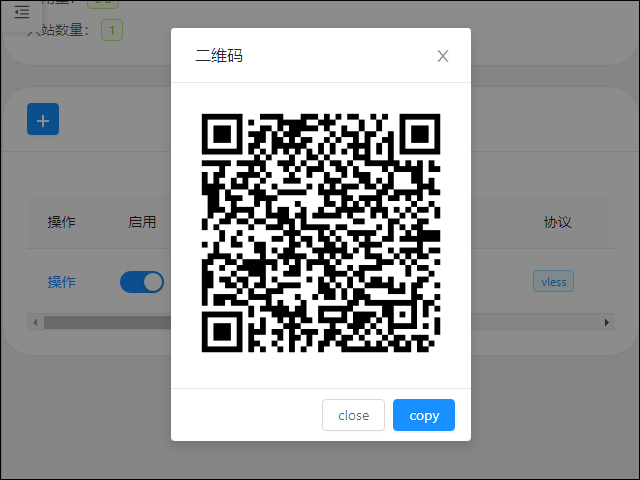
Click the 操作 (operating) button at the start of its row to display the QR code for the new user.
Client
Clients are available for Android, iOS, Windows, macOS, and Linux. Examples are v2rayNG, Shadowrocket, and Qv2ray.
Add the profile in the QR code to your client.
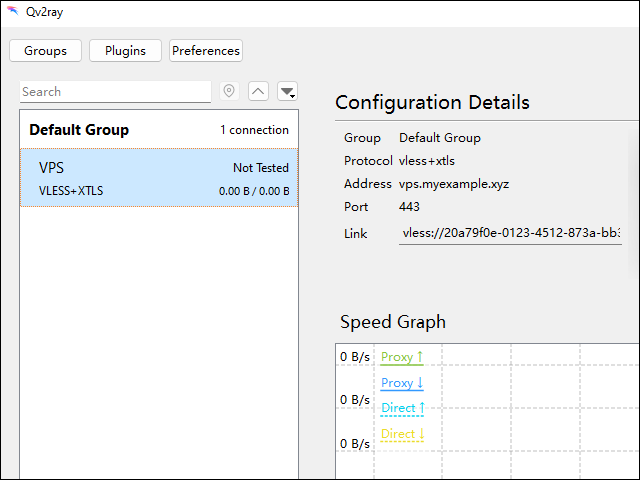
You can check that your connection is working by opening a browser and going to https://whatismyipaddress.com.
