Install VMware ESXi 7, In this blog, I will explore how to Run VMware ESXi 7 Host and configure inside VMware Workstation
How to Download VMware vSphere ESXi 7 Host
First, we would like to create an account, after creating an account you can download the trial version for 60 days.
1- Download VMware vSphere ESXi 7 so click here
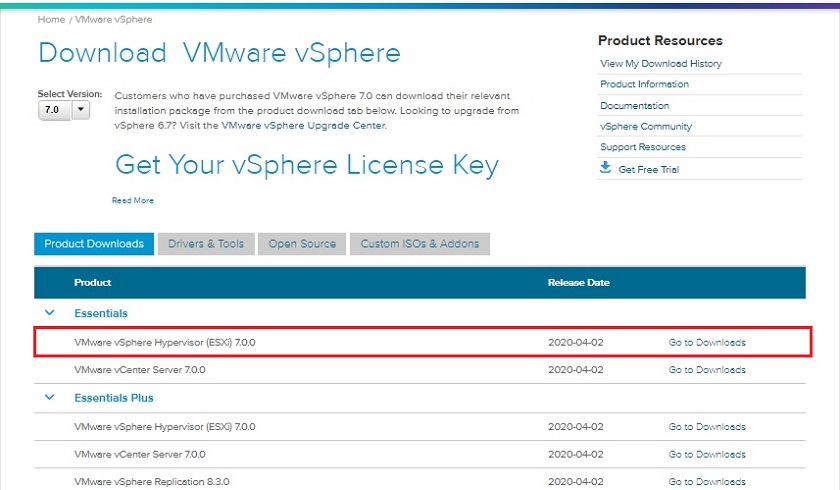
Now I have my VMware ESXi 7 download ready and I am ready to install
How to create a Virtual Machine in VMware Workstation, so change the boot option from the bios to boot from ISO
Install VMware ESXi 7
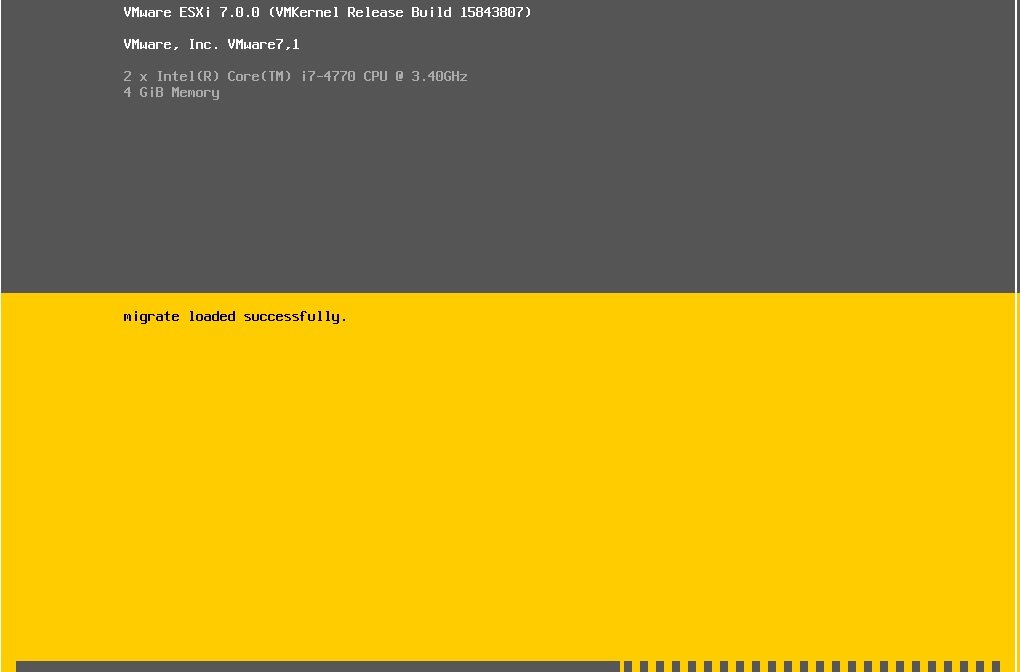
2- It starts loading the files into memory to install the VMware ESXi 7
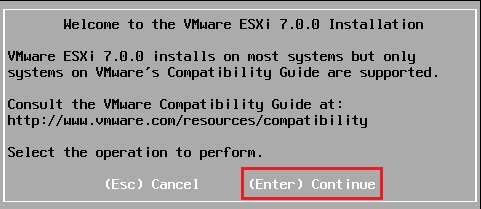
3- Press enter to start the installation
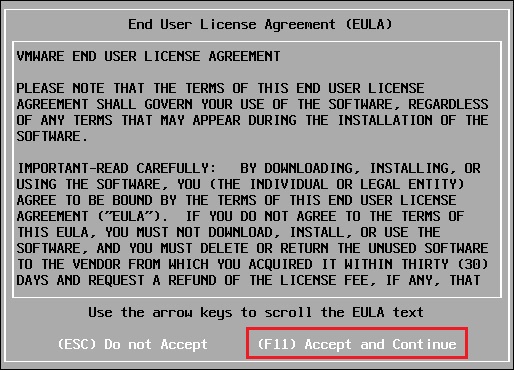
4- So, press the F11 key to accept the user license
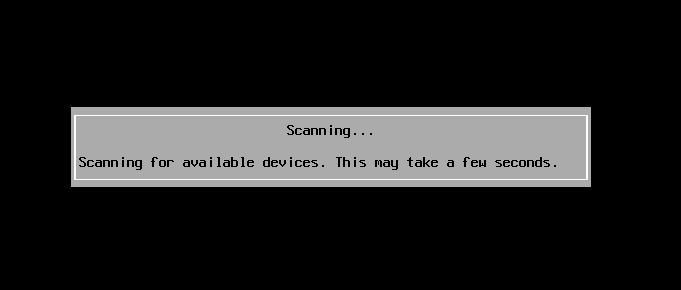
5- Its start scanning for the available devices
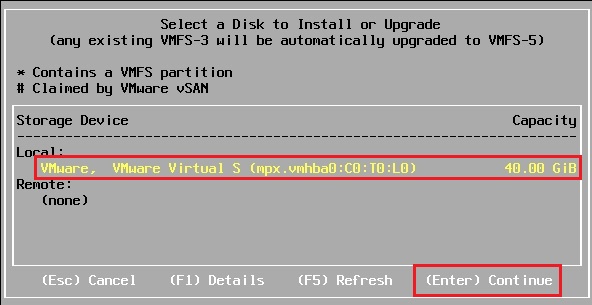
6- Select a disk to install ESXI 7, and then press enter
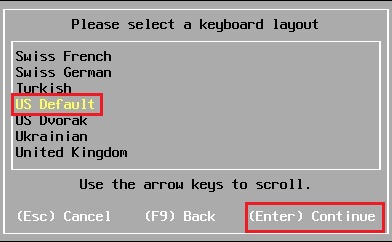
7- Keyboard layout and then press enter to continue
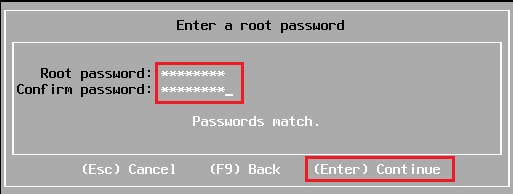
8- Type a root password, confirm password and then press enter to continue
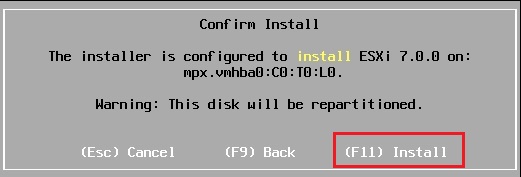
9- The installer is configured to install VMware ESXI 7, so press F11 to start the installation
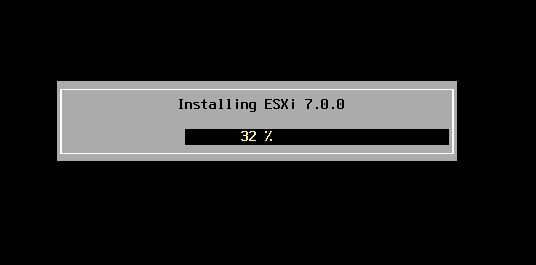
10- The VMware ESXi 7 installation in progress and it will take a few minutes to complete
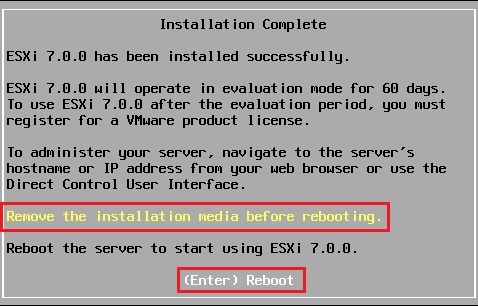
11- ESXi 7 installation successfully completed, please remove the installation media and then press enter to reboot the host
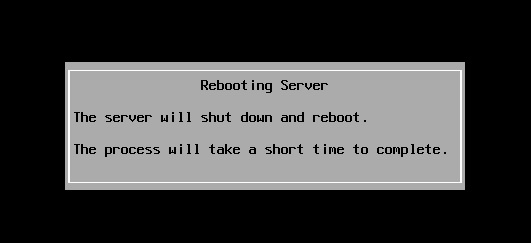
12- The ESXi 7 host server is rebooting
13- After successfully installed
Configure VMware ESXi 7
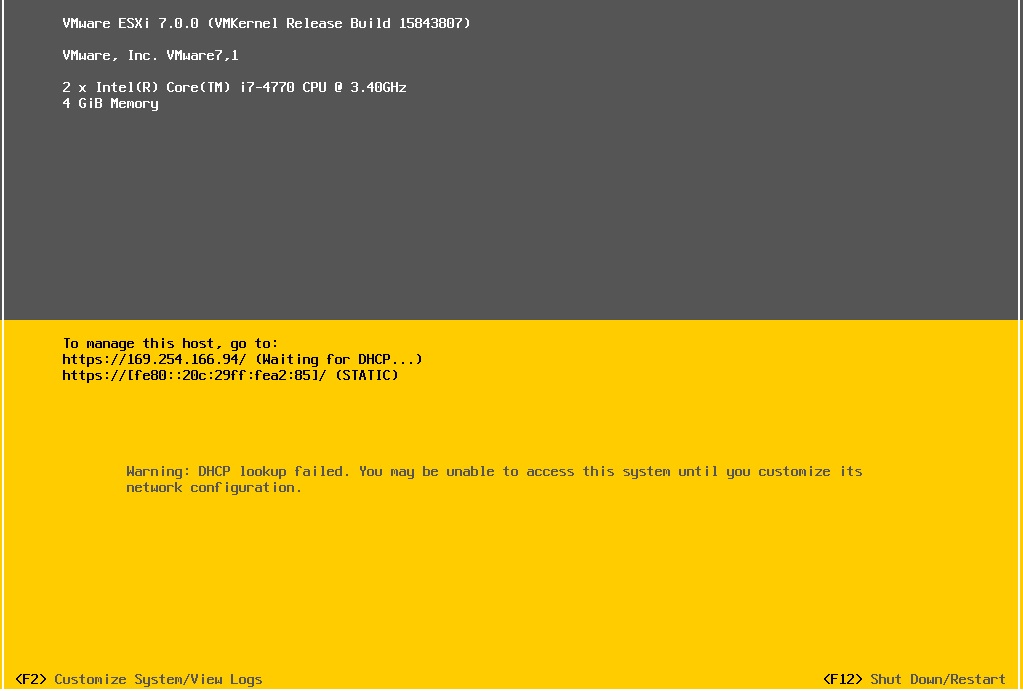
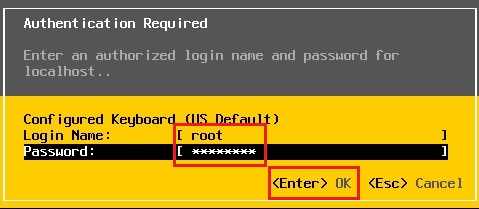
14- Once we have our VMware ESXi 7 host installed we need to configure, Press F2 for all options. F12 to restart and then turn off the VMware ESXi 7 host, Press F2, type your root password and press enter to continue
15- Configure Management Network option and press enter

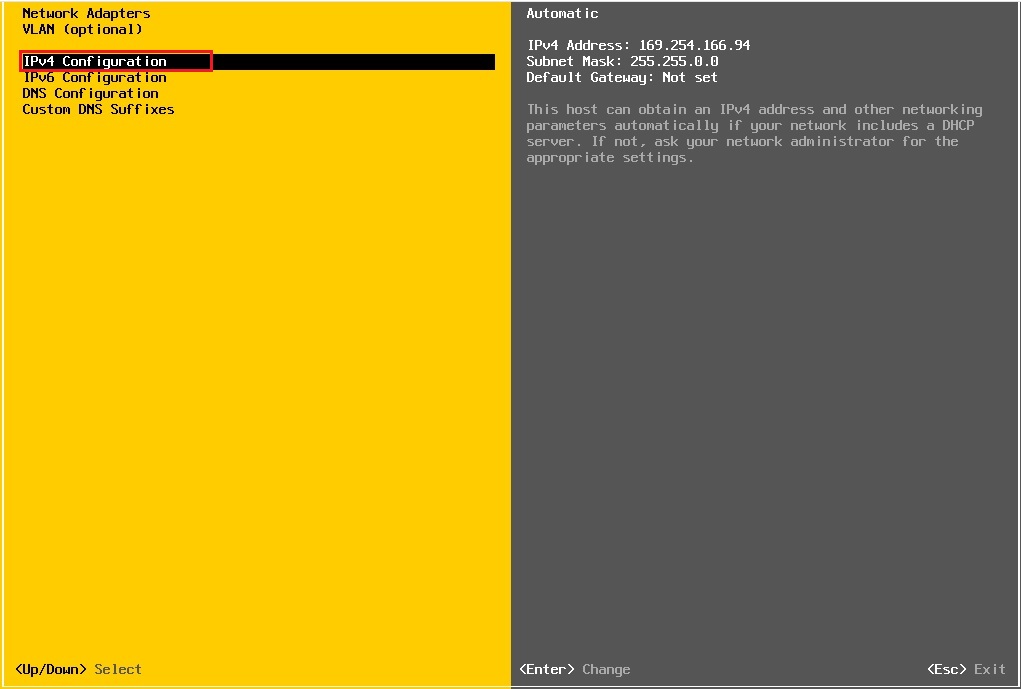
16- IPv4 Configuration option and press enter
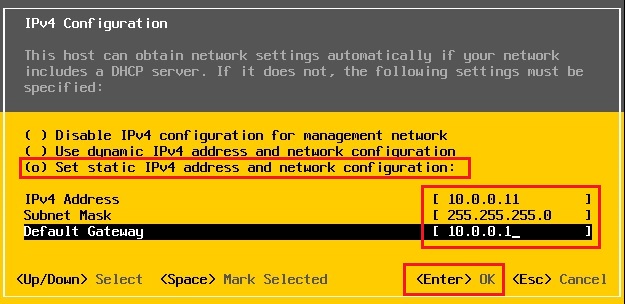
17- VMware ESXi 7, Choose set static IPv4 address and network configuration, type your IP Address, subnet mask, default gateway, and press enter
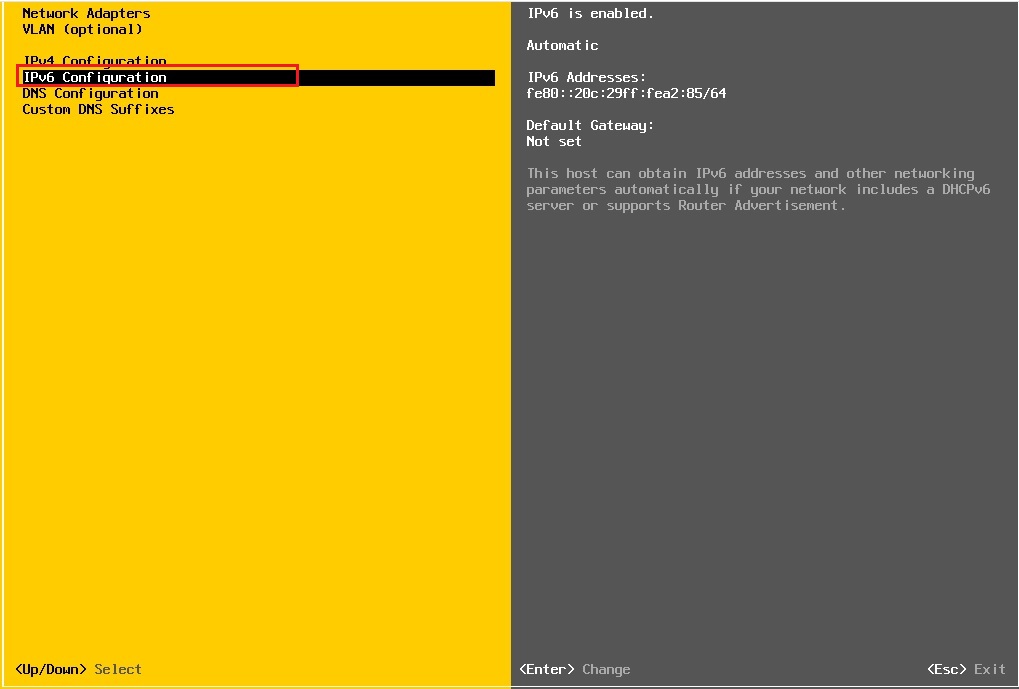
18- IPv6 Configuration option and press enter
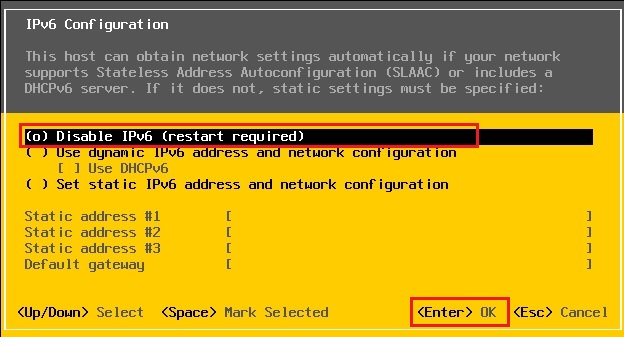
19- I recommend that you disable IPv6 (restart required) and press enter
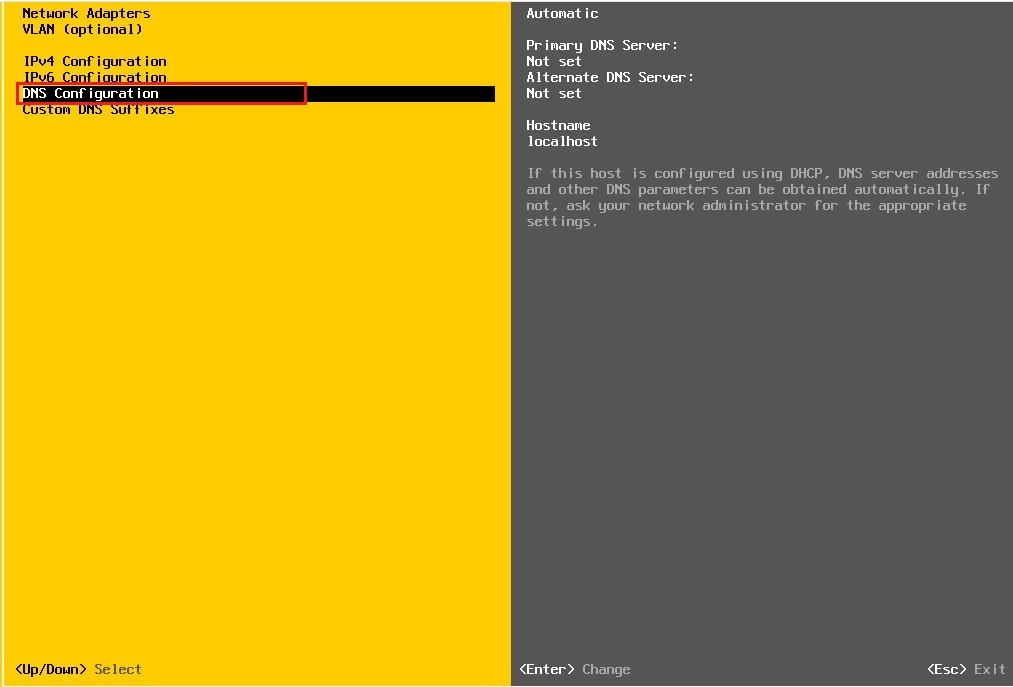
20- DNS Configuration option and press enter
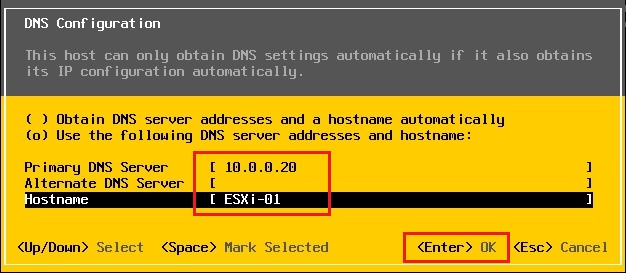
21- Enter primary DNS server IP Address, hostname and press enter
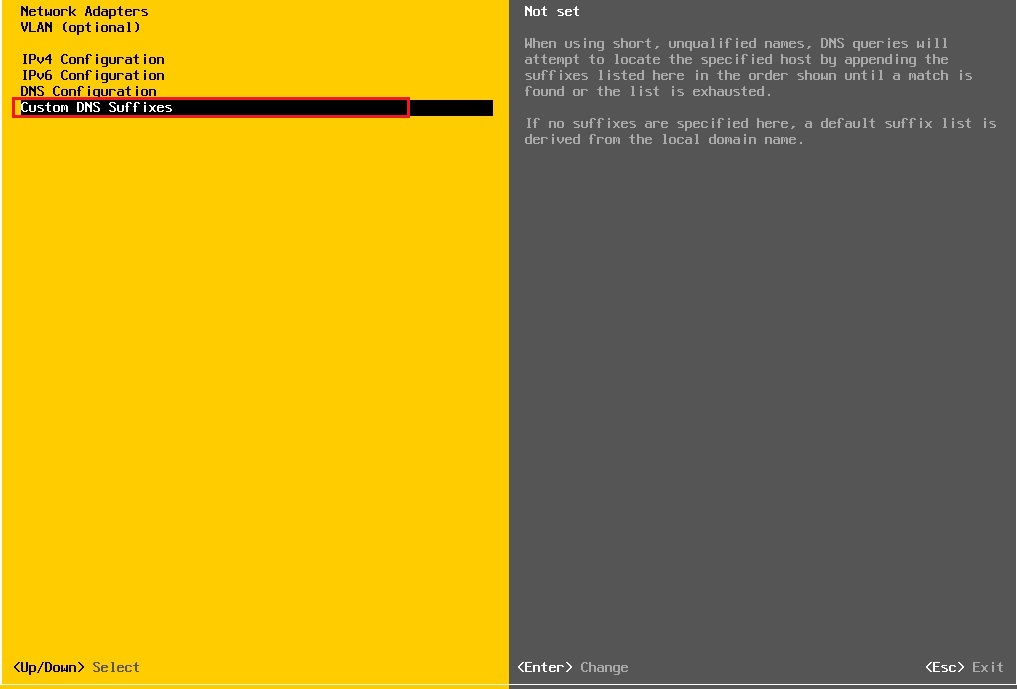
22- Choose a custom DNS suffixes option and hit enter
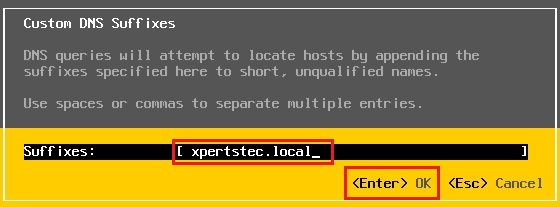
23- Type your custom DNS suffixes and hit enter
24- Press the Esc button, then press the Y button to apply changes and reboot host

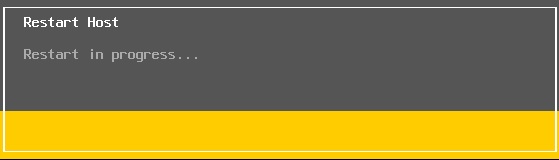
25- ESXi host restarting
26- Now the VMware ESXi 7 host configuration completed
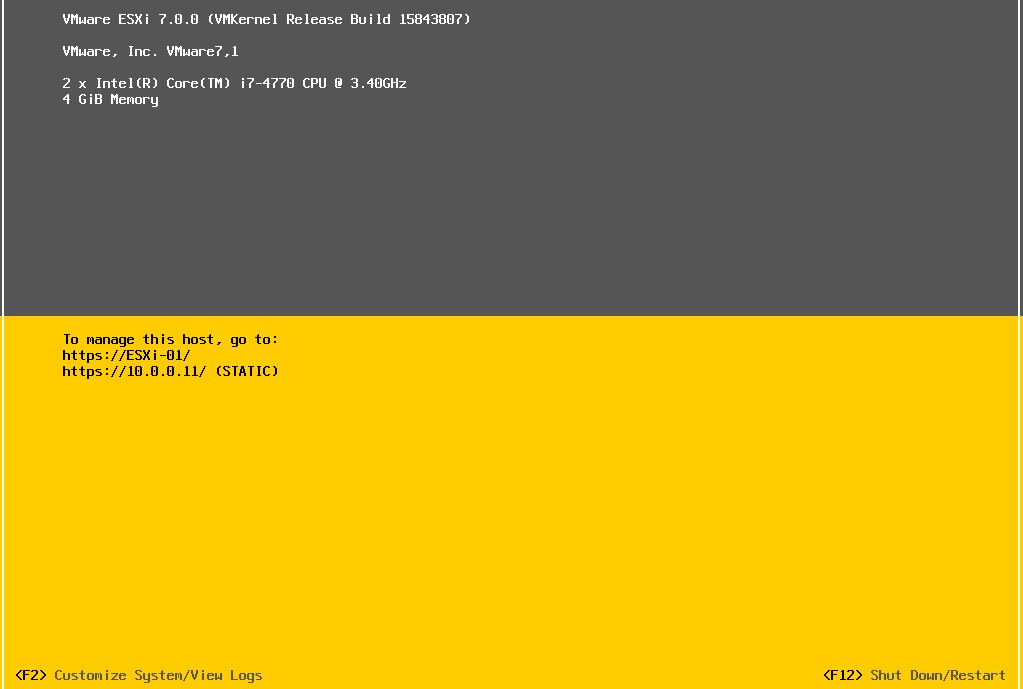
27- Now you can type your VMware ESXi 7 hostname or IP Address in your browser and access your ESXi 7 with the web client, type your root user name and password and click the Login button
Your articles are extremely helpful to me. Please provide more information!
You helped me a lot with this post. I love the subject and I hope you continue to write excellent articles like this.
You’ve been great to me. Thank you!